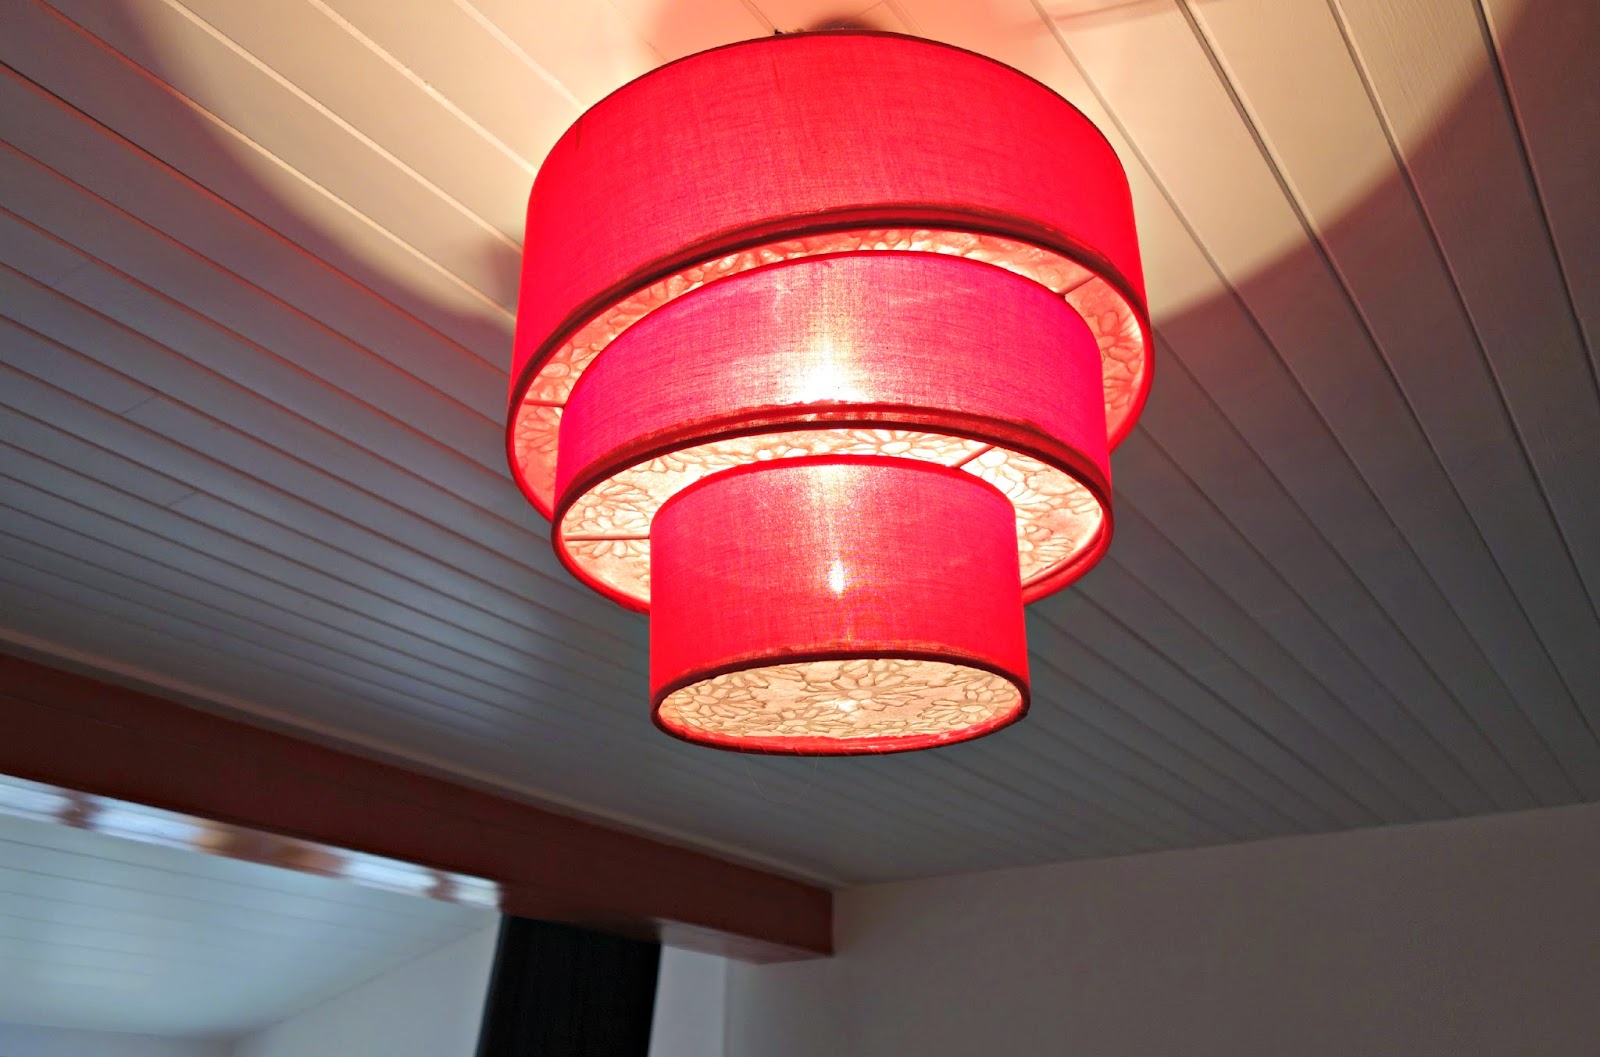
Most of you know that we are in the middle of remodeling our little chalet. We built the addition on this last summer and went out quickly the night before our housewarming party to buy lights for it. Frenchie hates lights that you can see the light bulbs through, I can't say I am too crazy about them either. We thought we did good when we bought this light but after we put it up and sat down on the couch...light right in our eyes. *sigh*
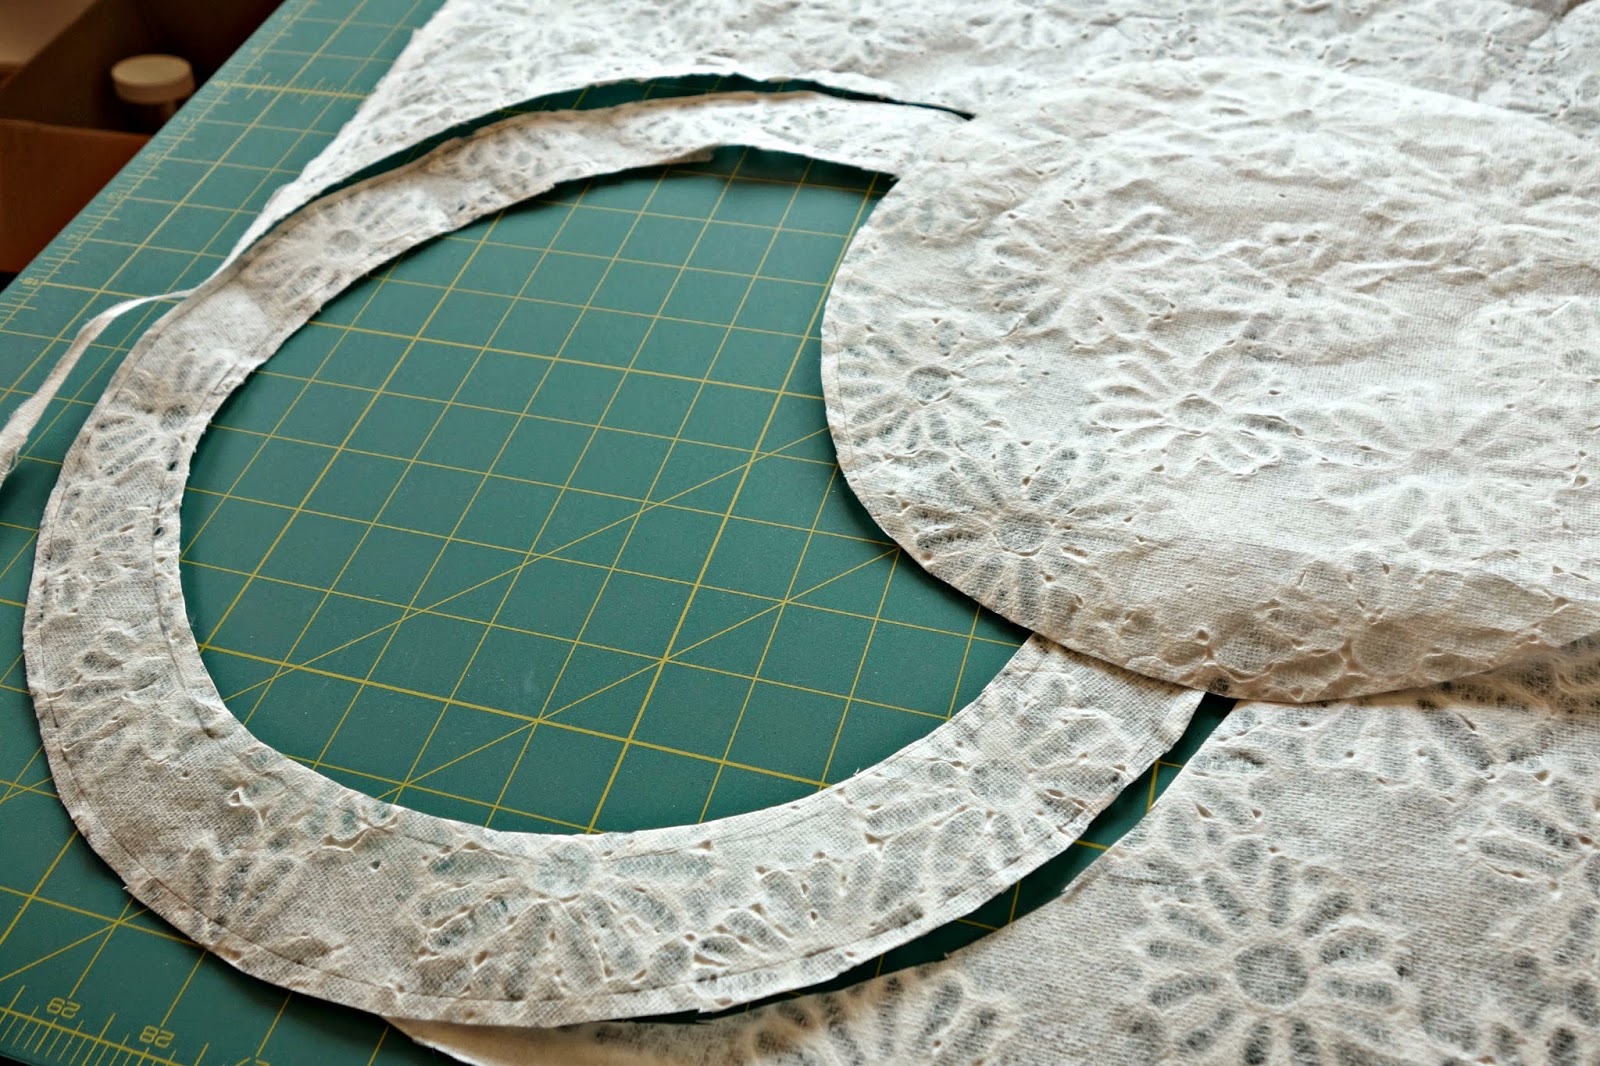
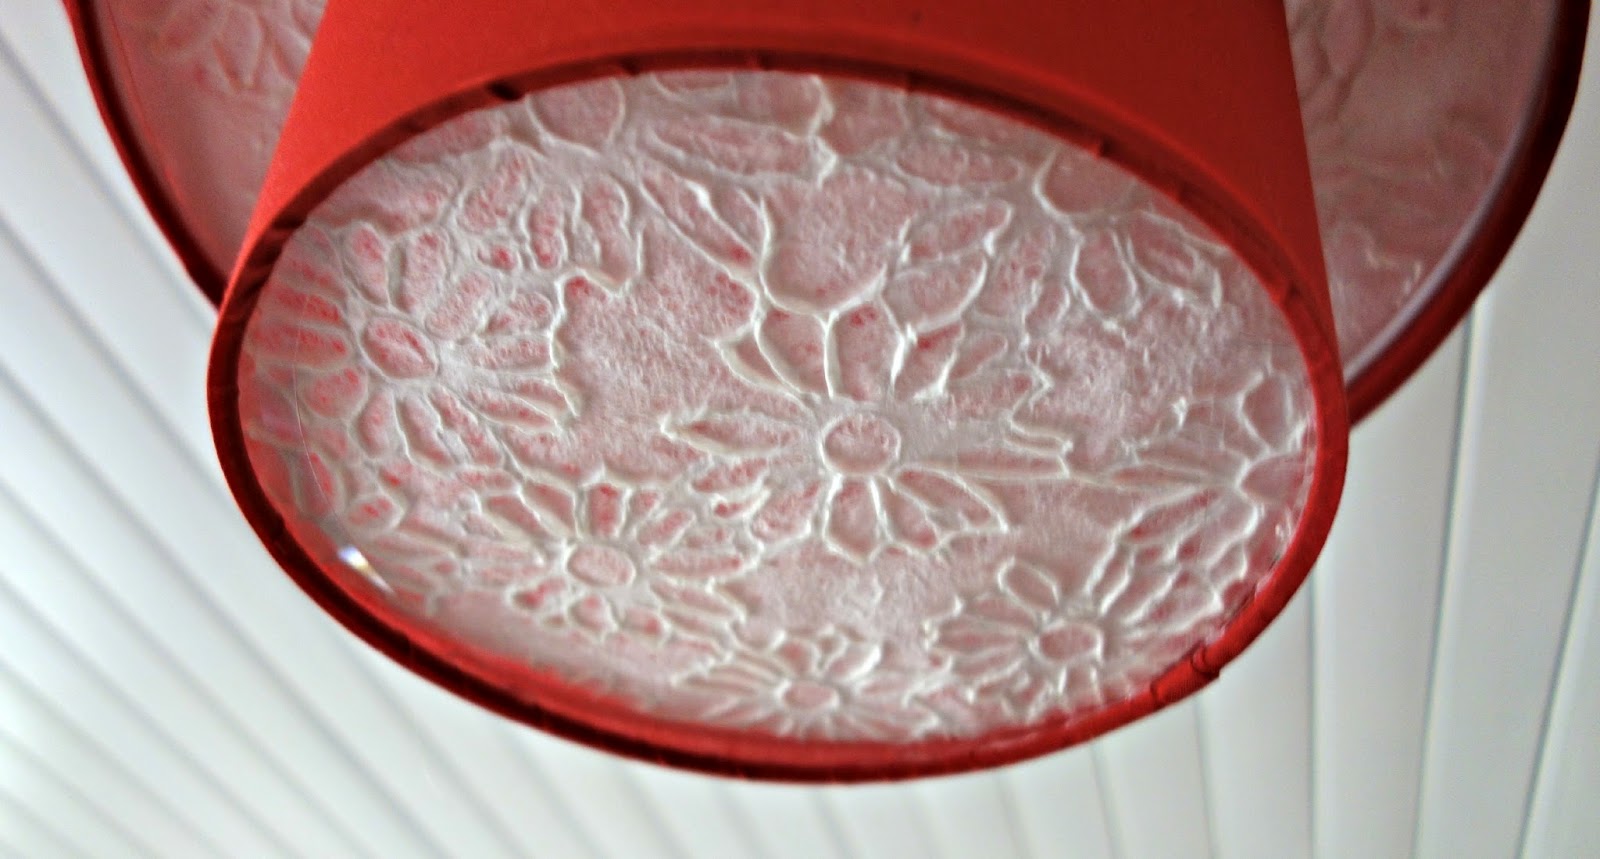
So we thought about buying a new light but really, I love this light! It fits in perfect with the contemporary decor so I decided I would think of some way to fix it instead, and I did! I decided I would line the light so I bought this wonderful nice thick hand made sheet of paper. This stuff is just gorgeous! It's exactly what I needed.
The first part I had to figure out was the lowest circle . It's tricky because you have to be able to access the light to change the light bulb.
I tried just cutting out the circle and setting it in there but the lip is so thin it didn't really stay put well. So I thought and thought and finally came up with a solution.
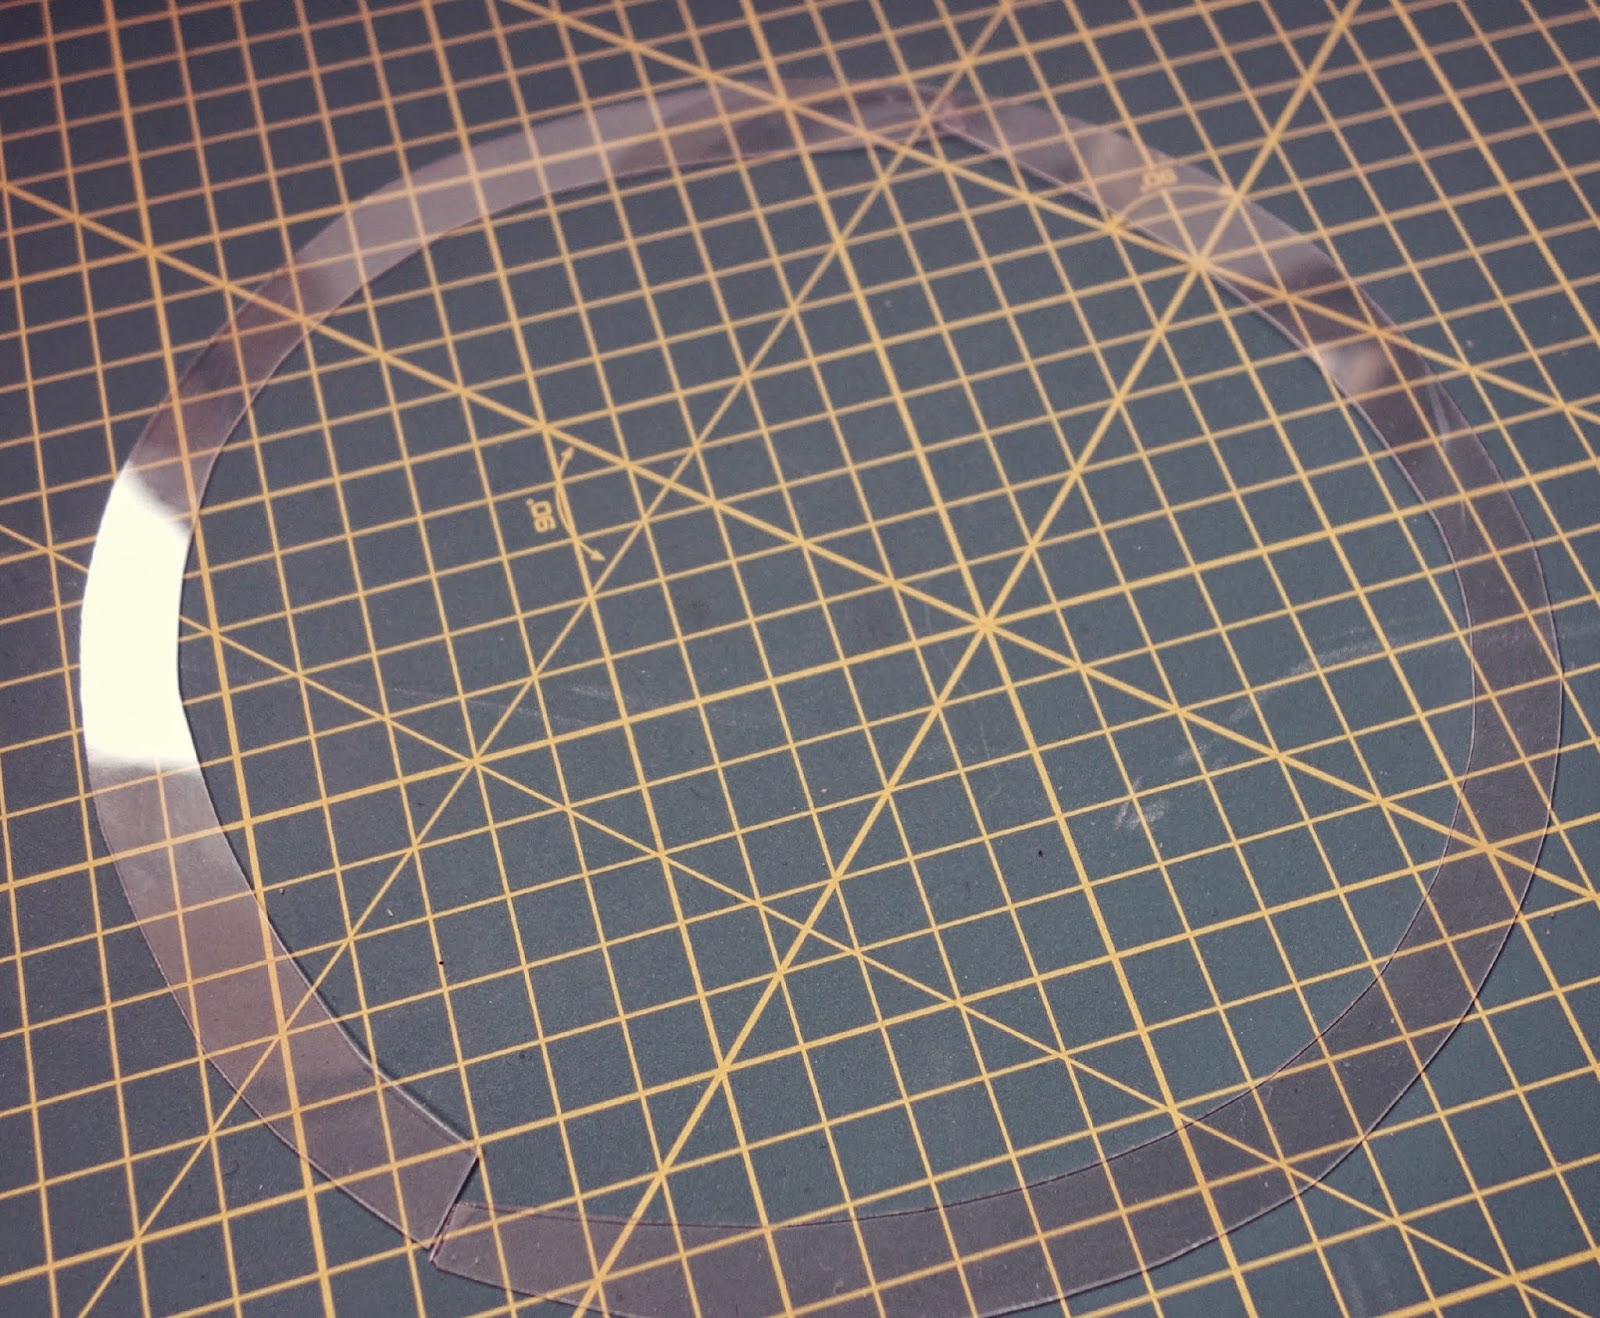
I took one of those plastic windows you find in so many display boxes and I cut a ring out of it, it's only about 1/2" wide and I had to cut two halves since the window wasn't big enough around but it worked out perfectly!
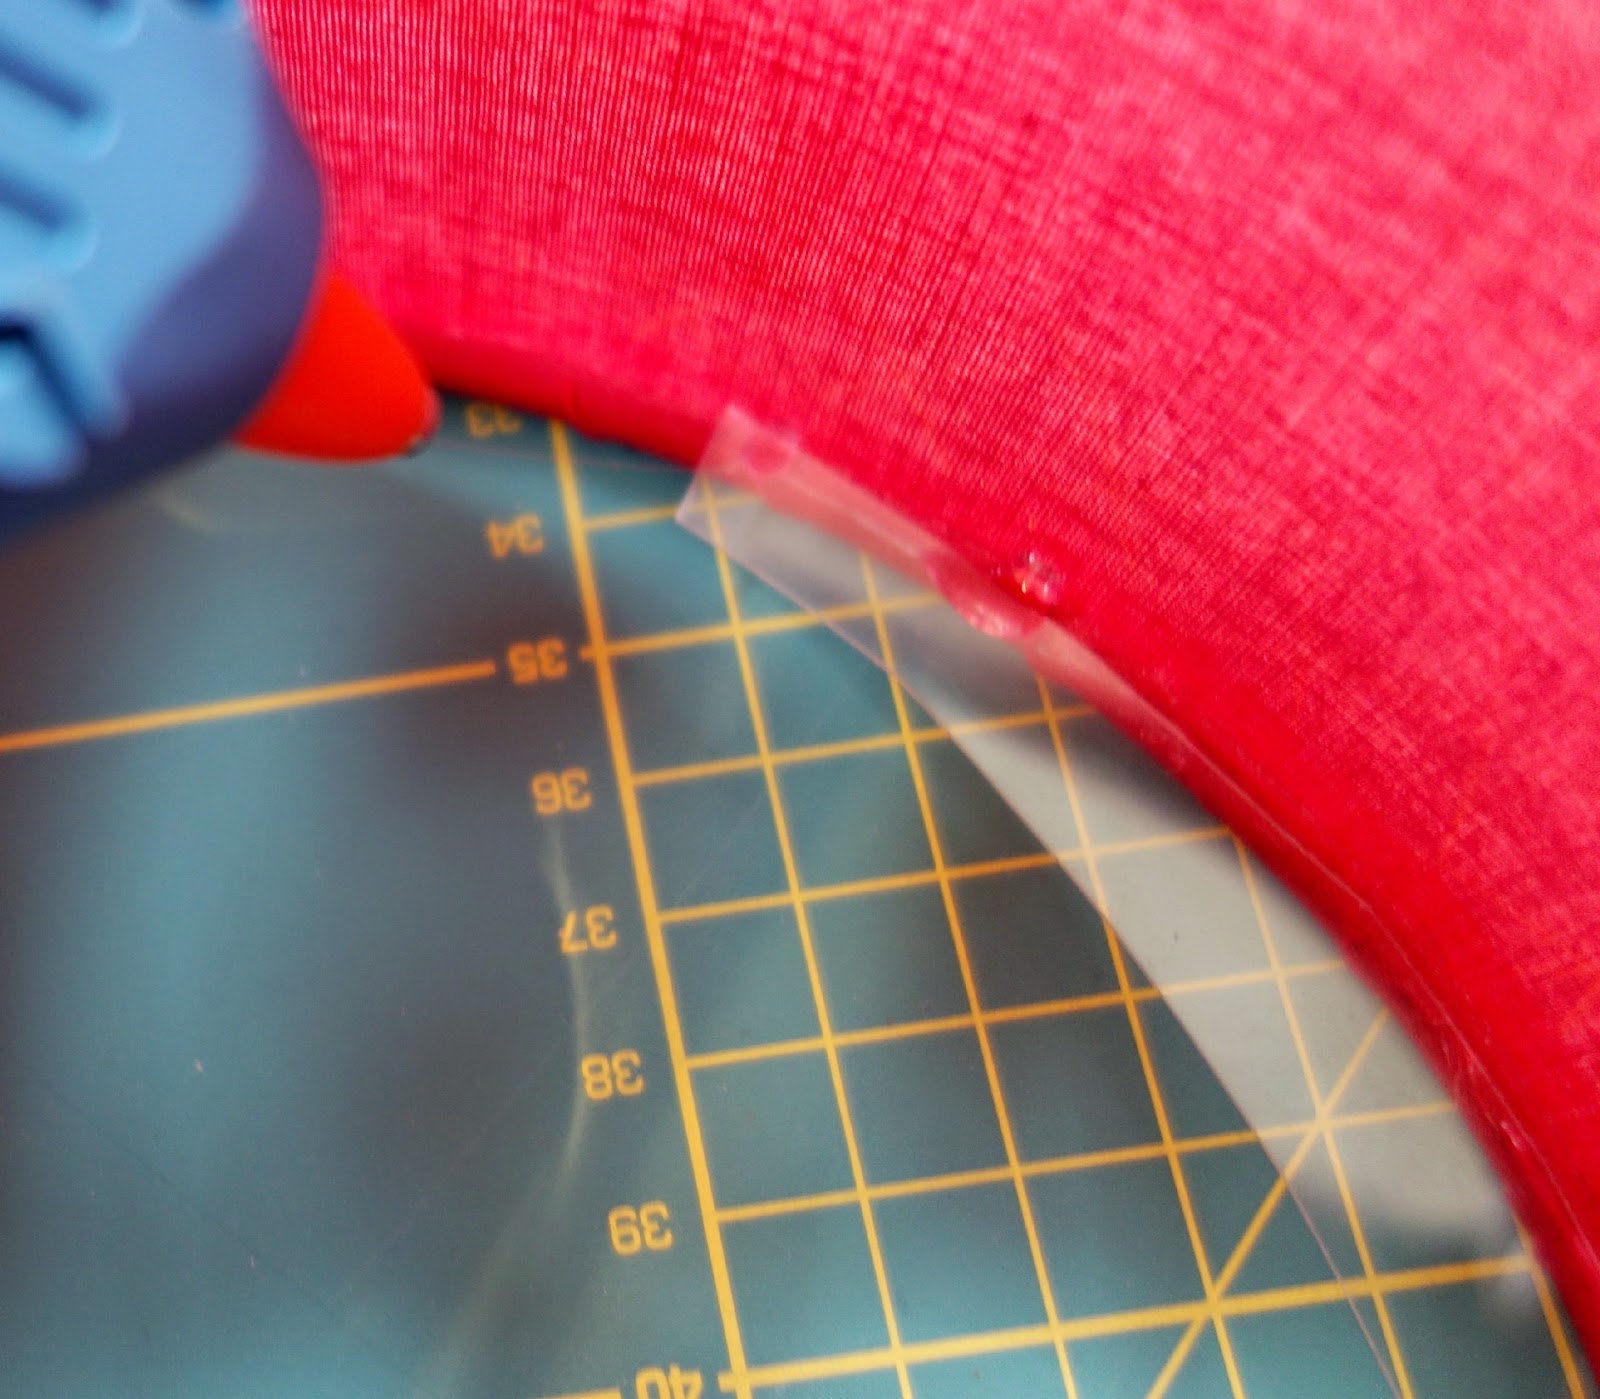
It gives just enough of an edge for the circle to rest on and not fall out. So I hot glued that in all the way around the lowest edge.
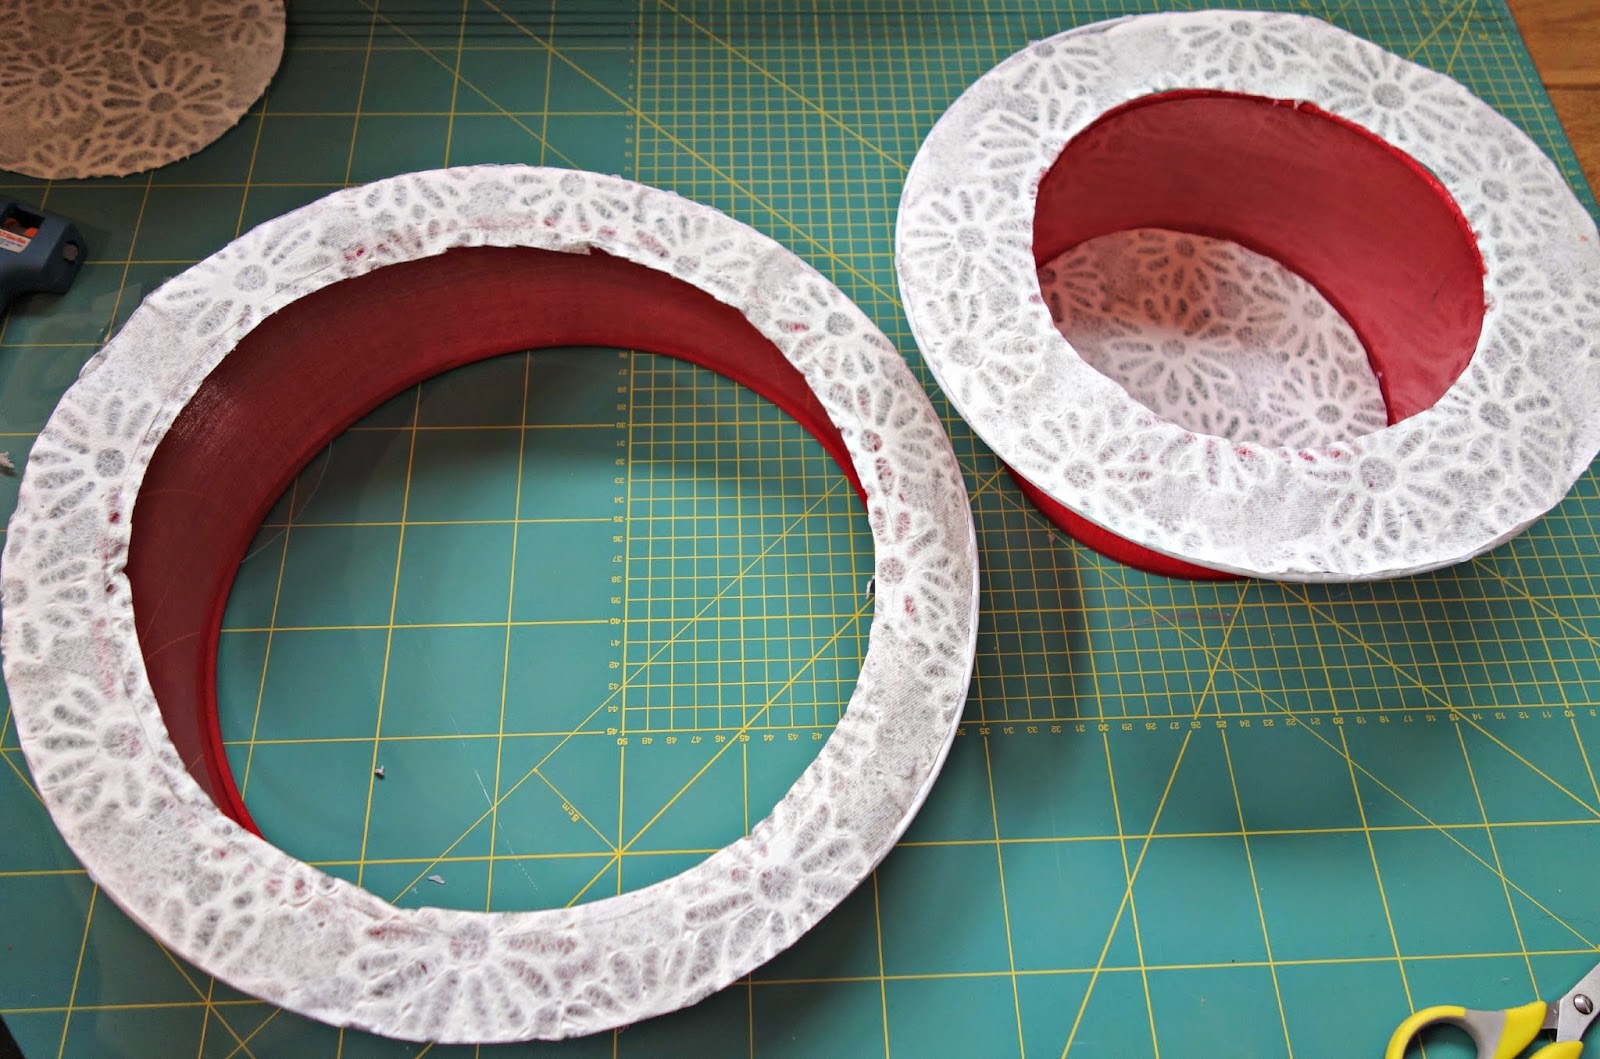
I also cut two rings to go on the upper levels.
They rest perfect on the wire racks of the shade.
Hot glued them all the way around on both sides, then I put it together and hung it back up
To put the circle in I just curled it a little to fit it though the opening and then when I got it inside I gently curled it the other way so it would flatten out.
Voila! No more shiny in the eyes!
Hope you find my little light lining tutorial useful and here is to a sunny and warm week for us all!
I







Very clever and very effective, too. Well done!
ReplyDeleteThanks Tina, I really didn't want to lose that light!
ReplyDeleteI love that paper - so pretty and the texture is great. I also love how it makes your light more functional for you - so pretty. Cathy
ReplyDeleteThanks Cathy, it really has made a big difference in the room, no more glare!
DeleteThat light fixture is all sorts of awesome. Your fix is clever and still stylish (I too hate trying to look up and getting my eyes zapped by the lightbulbs).
ReplyDeleteThank you! I think the paper made all the difference. It really seems to go well with the lamp :)
DeleteWow. I just went to a craft show in London yesterday, and your lamp looks like something that belonged there. Verryy professional, Diane! Hugs, Rose.
DeleteThank you so much Rose!
DeleteGreat idea!!
ReplyDeleteThank you Cri Erre!
Delete